Navigating the Dashboard
Once you sign in, the Cases dashboard is your home screen. From here you can access all of your cases, create new ones, and navigate to any part of the application. This guide walks through each area of the interface.
The Sidebar
The left sidebar is your primary navigation. It contains:
- Cases -- click this to return to the main cases list from anywhere in the application.
- Bookmarked -- cases you have starred appear here for quick access (up to 5 are shown). Bookmarked cases display with a gold star icon.
- Recent -- cases you have recently opened are listed here automatically. You can remove a case from the recent list by hovering over it and clicking the close icon.
The sidebar can be collapsed using the toggle button in the header to give you more screen space. On smaller screens, it collapses automatically. When collapsed, the Claim Cal logo shortens to "CC".
The Header
The header bar runs across the top of the screen and includes:
- Sidebar toggle (left) -- expand or collapse the sidebar.
- Organisation name (centre) -- shows the name of your current organisation. If you belong to multiple organisations, you can switch between them from the user menu.
- Theme toggle (right) -- switch between light and dark mode. Your preference is saved automatically.
- Help (right) -- opens the Claim Cal Help Centre in a new tab.
- User menu (right) -- click your avatar or name to access:
- User Settings -- update your name, email, or password
- Org Settings -- manage your organisation, team members, and billing
- Switch Organisation -- appears if you belong to more than one organisation
- Sign Out -- log out of Claim Cal
The Cases Table
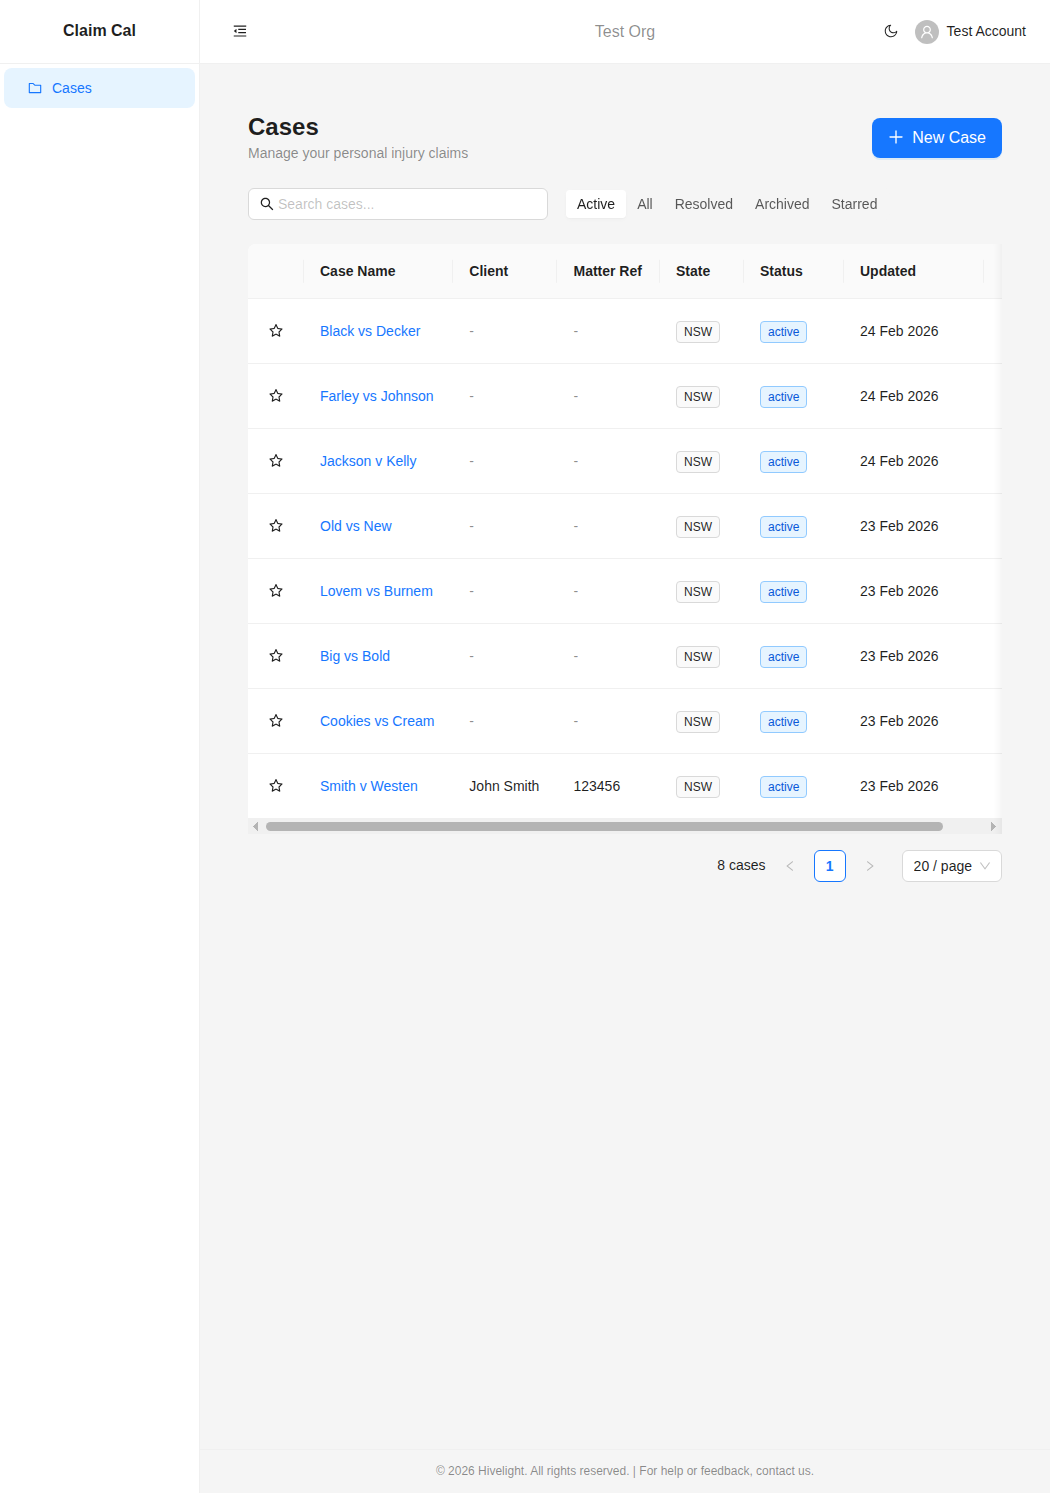
The main area of the dashboard shows your cases in a table. Each row displays:
| Column | Description |
|---|---|
| Star | Click to bookmark or unbookmark a case |
| Case Name | The name of the case (click to open it) |
| Client | The claimant's name |
| Matter Ref | Your firm's file reference number |
| State | The Australian state or territory (shown as a tag) |
| Status | Active, Resolved, or Archived (shown as a coloured tag) |
| Updated | The date the case was last modified |
| Delete | Permanently delete the case (requires confirmation) |
You can click anywhere on a row to open that case.
Search and Filters
Above the table you will find:
- Search box -- search across case names, client names, and matter references. Results filter as you type.
- Status filter -- a segmented control with five options: Active (default), All, Resolved, Archived, and Starred. Use these to focus on the cases most relevant to your current work.
The Case Detail Page
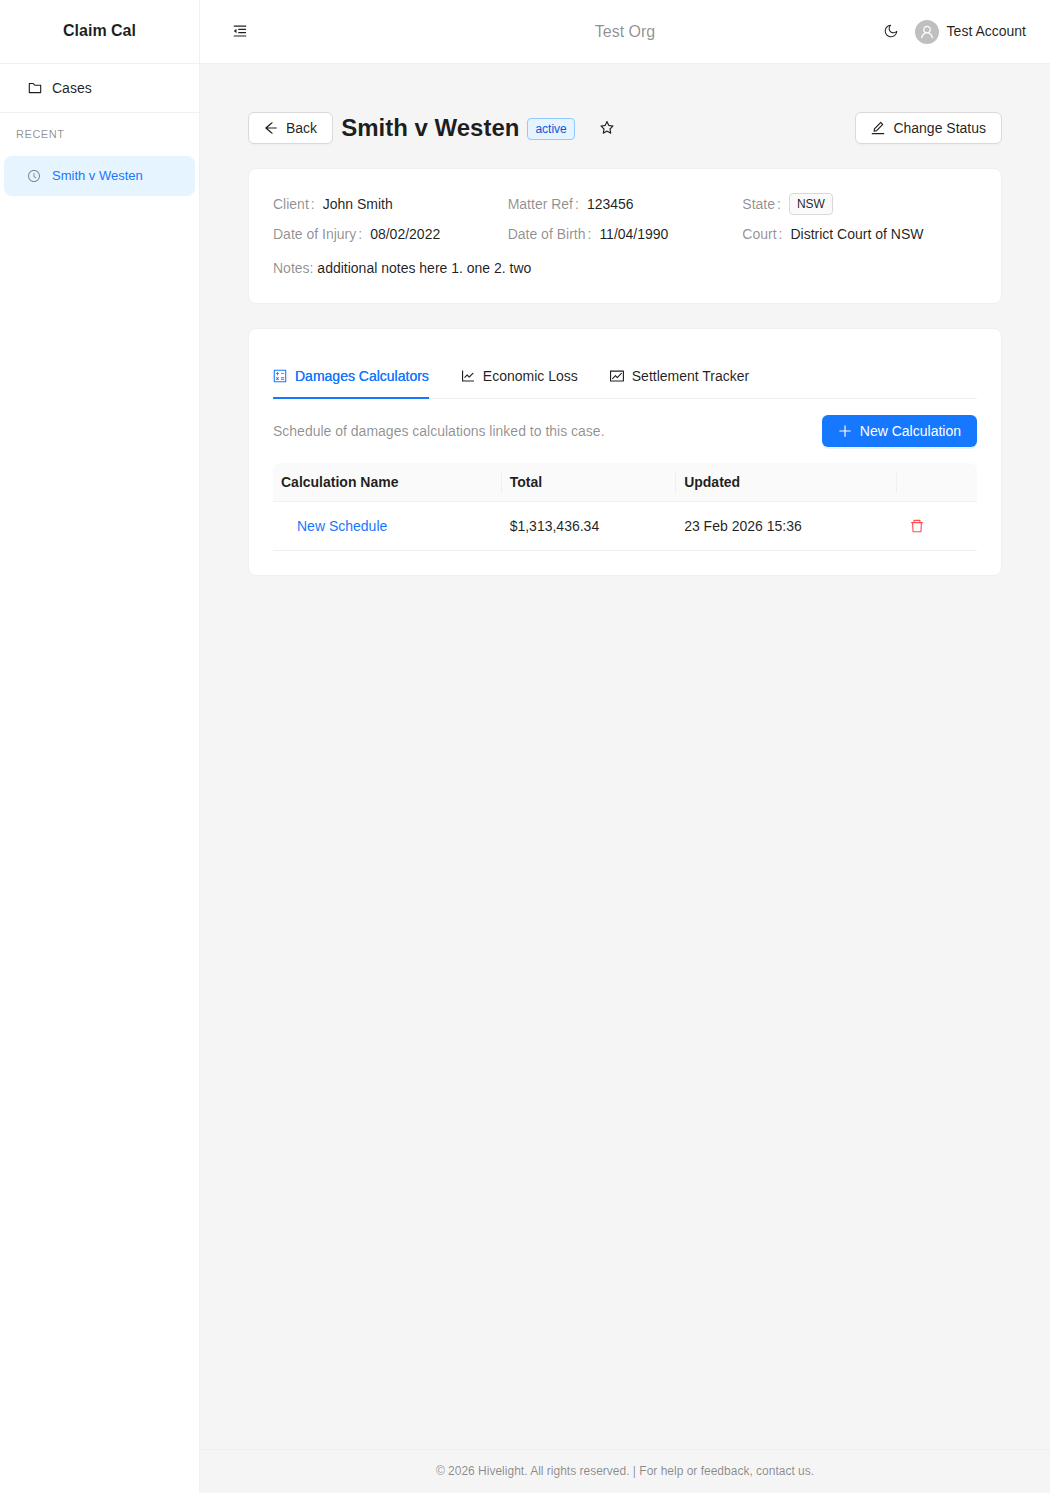
When you open a case, you see:
- Case information card -- displays the client name, matter reference, state, date of injury, date of birth, court or tribunal, and any notes. A hearing date is shown if one has been set.
- Status and bookmark -- the case status tag and bookmark star are shown next to the case name. Click Change Status to move a case between Active, Resolved, and Archived.
- Three tool tabs -- below the case info, three tabs give you access to the tools linked to this case:
- Damages Calculators -- create and manage schedule of damages calculations
- Economic Loss -- create and manage economic loss analyses
- Settlement Tracker -- create and manage settlement negotiation sessions
Each tab shows a list of existing calculations or sessions, with a button to create a new one. Click on any item to open it.
💡 Tip
Each tool tab includes a help icon (question mark) that links directly to the relevant section of the Help Centre.
Next Steps
Ready to create your first case? See Creating and Managing Cases.